Using VS Code remote ssh settings
Using the Remote - Tunnel extension
The Remote - Tunnels extension allows you to connect to HPC compute nodes such that higher processing power can be available while still respecting the queuing system resource allocations.
Prerequisites
- Allocate a compute node with
sallocto obtain an interactive session. - Ensure the
codeCLI is available on the compute node. -codehas been installed in/local/cqls/opt/binto facilitate this. You can skip this step if runningcode --versionproduces a result.codeis not supported onppc64leat this time.
Install the VS Code CLI on the compute node
Run the following command on the allocated node to download and extract the VS Code binary:
This will create a code executable in the current directory.
Start a tunnel
After the download finishes, start a tunnel to your local machine:
Follow the prompts to authenticate with your Microsoft account (use your ONID credentials).
Once the tunnel is established, install the Remotes - Tunnels extension if you haven't already, and then authenticate with your ONID credentials in VS Code on your local machine - choose the Microsoft account option - (or the web vscode interface) to connect to the compute node, allowing you to edit files, run terminals, and submit jobs.
Submitting jobs from the tunnel
You can use salloc or hqsub as usual within the tunnel session. The VS Code terminal runs on the compute node, so
any commands you execute (including salloc, sbatch) will operate on the HPC resources.
Tips
- Keep the tunnel session active; closing the terminal will terminate the connection.
- Restarting a
code tunnelcommand on a machine will automatically make it available again in your local VS code or web interface. - After you authenticate interactively the first time using
salloc, you can then submit a batch job withcode tunnelto the same machine to open the tunnel in a non-interactive session. - Remember to kill the job with
scancelwhen you no longer need the tunnel open. - Use
code tunnel --helpfor additional options such as using a different workspace folder.
Using the Remote - SSH extension
To reduce CPU usage and traffic on the log-in node shell-hpc, we have set up a dedicated machine to handle
VS Code so remote IDE processes do not consume compute resources on shell nodes.
We support the Remote - SSH extension, but if you need to use R (including installing the R extension on the vscode remote machine), or any other extensions/processes with CPU/Memory reqirements, please use the Remote - Tunnel extension as described above.
Quickstart guide
If you're familiar with editing your ssh config file as explained in the connecting guide, then getting your vscode connection will be relatively simple. It should look like this when you're done:
Warning
Windows users seem to have issues using the ControlMaster ControlPath and ControlPersist
settings. Please remove them if you are having issues.
For others, make sure to run mkdir -p ~/.ssh/sockets first so the directory that keeps the sockets open is
present. Also, replace your ONID username for ONIDUSER.
Host shell
    HostName shell.hpc.oregonstate.edu
    User ONIDUSER
    ControlMaster auto
    ControlPath ~/.ssh/sockets/%r@%h-%p
    ControlPersist 600
    TCPKeepAlive no
    ServerAliveInterval 30

Host vscode
    HostName vs-gateway.hpc.oregonstate.edu
    User ONIDUSER
    ProxyJump shell
    TCPKeepAlive no
    ServerAliveInterval 30
Retries
Retry up to three times when you connect to vscode to resolve connection issues, especially after getting disconnected. Please send a message on the BUG Slack channel if you cannot get the connection working.
Step-by-step tutorial
- Install the Remote - SSH extension
- i.e. run
ext install ms-vscode-remote.remote-sshin the quick open panel (ctrl+p)
- i.e. run
- Restart extensions
- i.e.
ctrl+shift+x-> Click restart extensions - OR open command pane
ctrl+shift+p-> Restart extension host;ctrl+shift+p-> Extensions: Refresh
- i.e.
- Open the command pane
ctrl+shift+p-> Open SSH Configuration File...- This usually defaults to:
/home/$USERNAME/.ssh/config - copy/paste the
~/.ssh/configfile contents from above into the file - Save the file
- This usually defaults to:
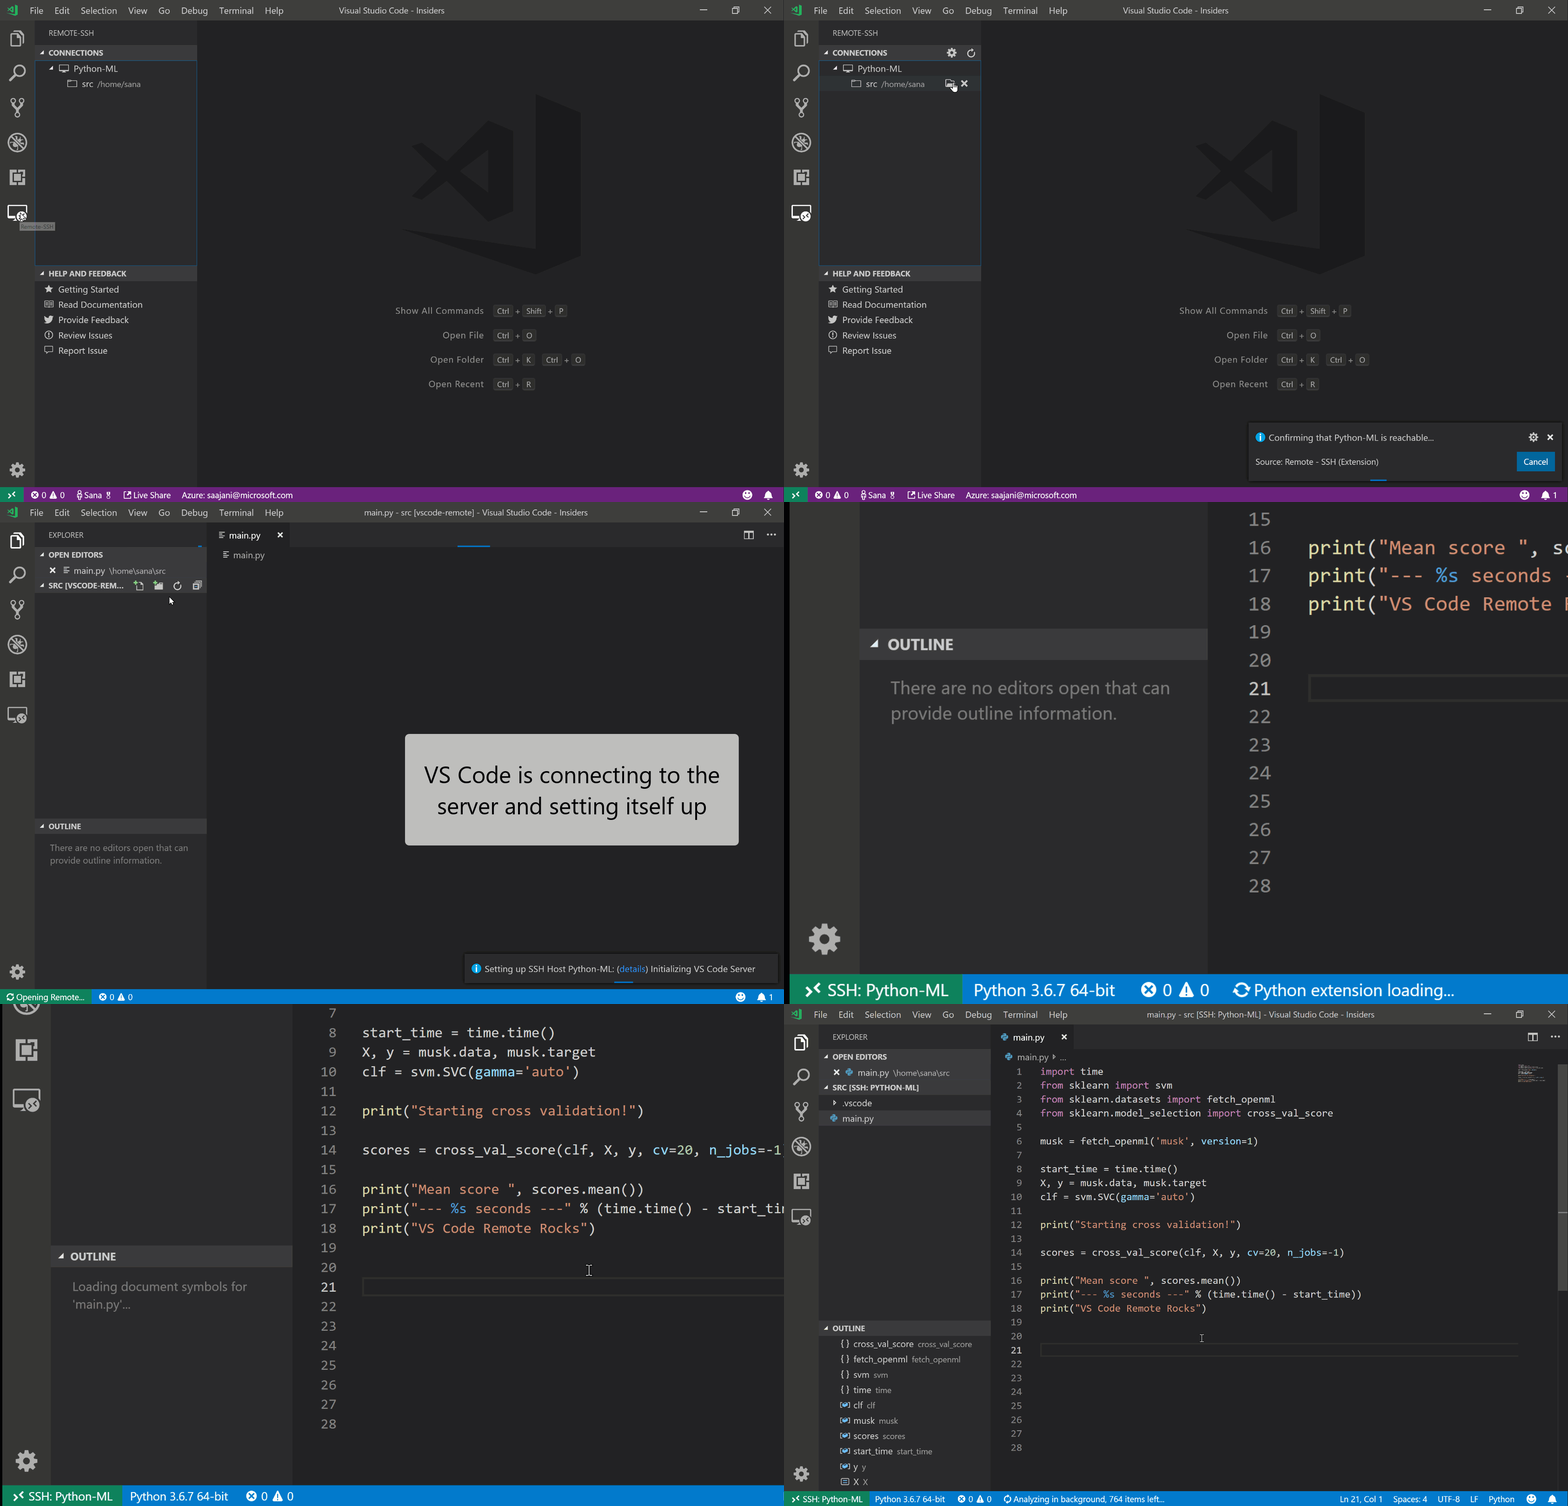
- Test it out by connecting to host i.e.
ctrl+shift+p->Connect to host-> vscode- Alternatively, click on the Open a remote window button in the bottom left corner, then
Connect to hostorConnect Current Window to Host, thenvscode
See this graphic for more info:
Additional Config Changes
At this point, you likely have a working SSH - Remote session. However, listed below are some additional changes we are requesting everyone make in their vscode settings to keep the remote server performing well for everyone.
With most of the data on the Wildwood infrastructure housed on NFS servers, certain vscode components and extensions are known to produce detrimental I/O loads to NFS-backed filesystems. The setting changes primarily affect how the vscode clients (and installed extensions) search and navigate directories on the remote session.
To limit I/O loads on vs-gateway, please apply the following configurations/settings:
To Open Settings
Ctrl+, (comma) to open settings - on Linux & Windows
-
Under: User > Features > Remote
- Default Extensions If Installed Locally: Remove everything in the list except those you legitimately need.
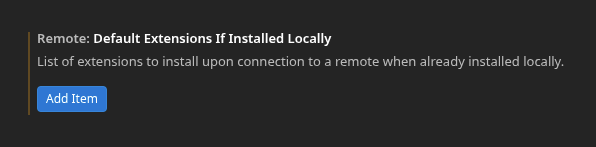
- Default Extensions If Installed Locally: Remove everything in the list except those you legitimately need.
-
Under: Remote [SSH: vs-gateway] > Features > Search
- Follow Symlinks: empty/not checked
- Max Results: 1000
- Ripgrep: Max Threads: 4 (a reasonable number we have selected during our tests)
- Search On Type: empty/not checked (don't continuously search when updating the search term)
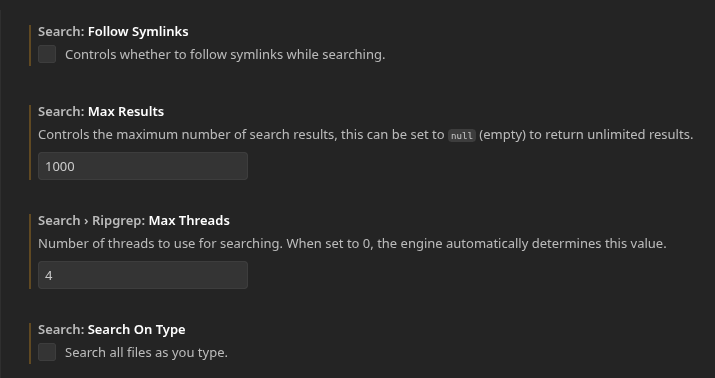
-
Under: Remote [SSH: vs-gateway] > Features > Terminal
- Integrated: Enable File Links: notRemote

- Integrated: Enable File Links: notRemote
After the edits are complete, close vscode entirely, relaunch, and reconnect to the remote session.
Extensions
If you have a local set of extensions, you'll have to re-install your extensions on the remote machine, so don't be dismayed if they are initially missing. Please select only those you legitimately need.
Large Directory Trees
One of vscode's basic handy features to make source control/revision history easier is being aware of and tracking changes to files. However, scanning large directory tree structures with large amounts of subdirectories or small files is a significant contribution to I/O load, since there are generally more items to scan and keep track of. To this end, it is best practice to choose the lowest possible project directory when selecting your "Open Folder" (or working folder) and keep data separated from source code and project files.
For example: Your project folder in a lab's NFS storage space contains raw acquired data (thousands or millions of small data files), scripts that process the raw data, various virtual environments, and large semi-ephemeral files used in processing. You are only editing the processing scripts before submitting them as Slurm jobs. Ideally, the scripts are the only thing held within a source control (git/SVN) repository and you would select this repository directory as the "Open Folder" in vscode. By limiting the amount of items to keep track of, this minimizes the scanning/tracking component's scope of work.
Submitting jobs from vscode machine
Slurm is enabled on the vs-gateway machine so that you can submit jobs from the node. The terminal window should work
as expected. You can duplicate terminals and use salloc to
run interactive jobs as well.
Feedback
Please let us know if you run into problems using this method so that we can help you troubleshoot your connection issues.